Step-by-Step Wiring Guide: Brook Fighting Board Cables
This guide will walk you through the process of wiring your fightstick or hitbox using Brook's Fighting Board Cables.
Before You Begin:
- Ensure you have a Brook Fighting Board
- Gather your buttons (Sanwa Denshi, Seimitsu, GameFinger, etc.) and joystick (Sanwa JLF-series, Seimitsu LS-series, Hori Hayabusa, or compatible).
- Have your Brook Fighting Board Cable (and Hitbox Cable) ready.
- Refer to your Brook Fighting Board's user manual for specific compatibility and button function details.
Part 1: Using the Fighting Board Cable (20-Pin & 4-Pin Harness)
Step 1: Identify Connectors
- Locate the 20-pin harness (main buttons and joystick) and the 4-pin harness (auxiliary buttons).


- Identify the 5-pin JST PH connector on the 20-pin harness (for the joystick).
- Observe the female spade connectors on the harnesses (for the buttons).
Step 2: Connect the Joystick
- If your joystick uses a 5-pin connector, align it with the 5-pin JST PH connector on the 20-pin harness.
- Carefully plug the joystick connector into the harness connector. Ensure it's fully seated.
Step 3: Connect the Main Buttons (20-Pin Harness)
- Identify the switch terminals on the back of your arcade buttons.
- Slide the female spade connectors from the 20-pin harness onto the switch terminals of your main action and option buttons.
- Ensure the connectors are securely attached.
- Connect each button to the desired spot on the 20 pin connector.
Step 4: Connect the Auxiliary Buttons (4-Pin Harness)
- If you're building an all-button fightstick or need R3/L3 simulation, use the 4-pin harness.
- Slide the female spade connectors from the 4-pin harness onto the switch terminals of your auxiliary buttons.
- Connect the 4 pin connector to the correct location on the brook fighting board.
- Refer to the brook fighting board manual for correct placement.
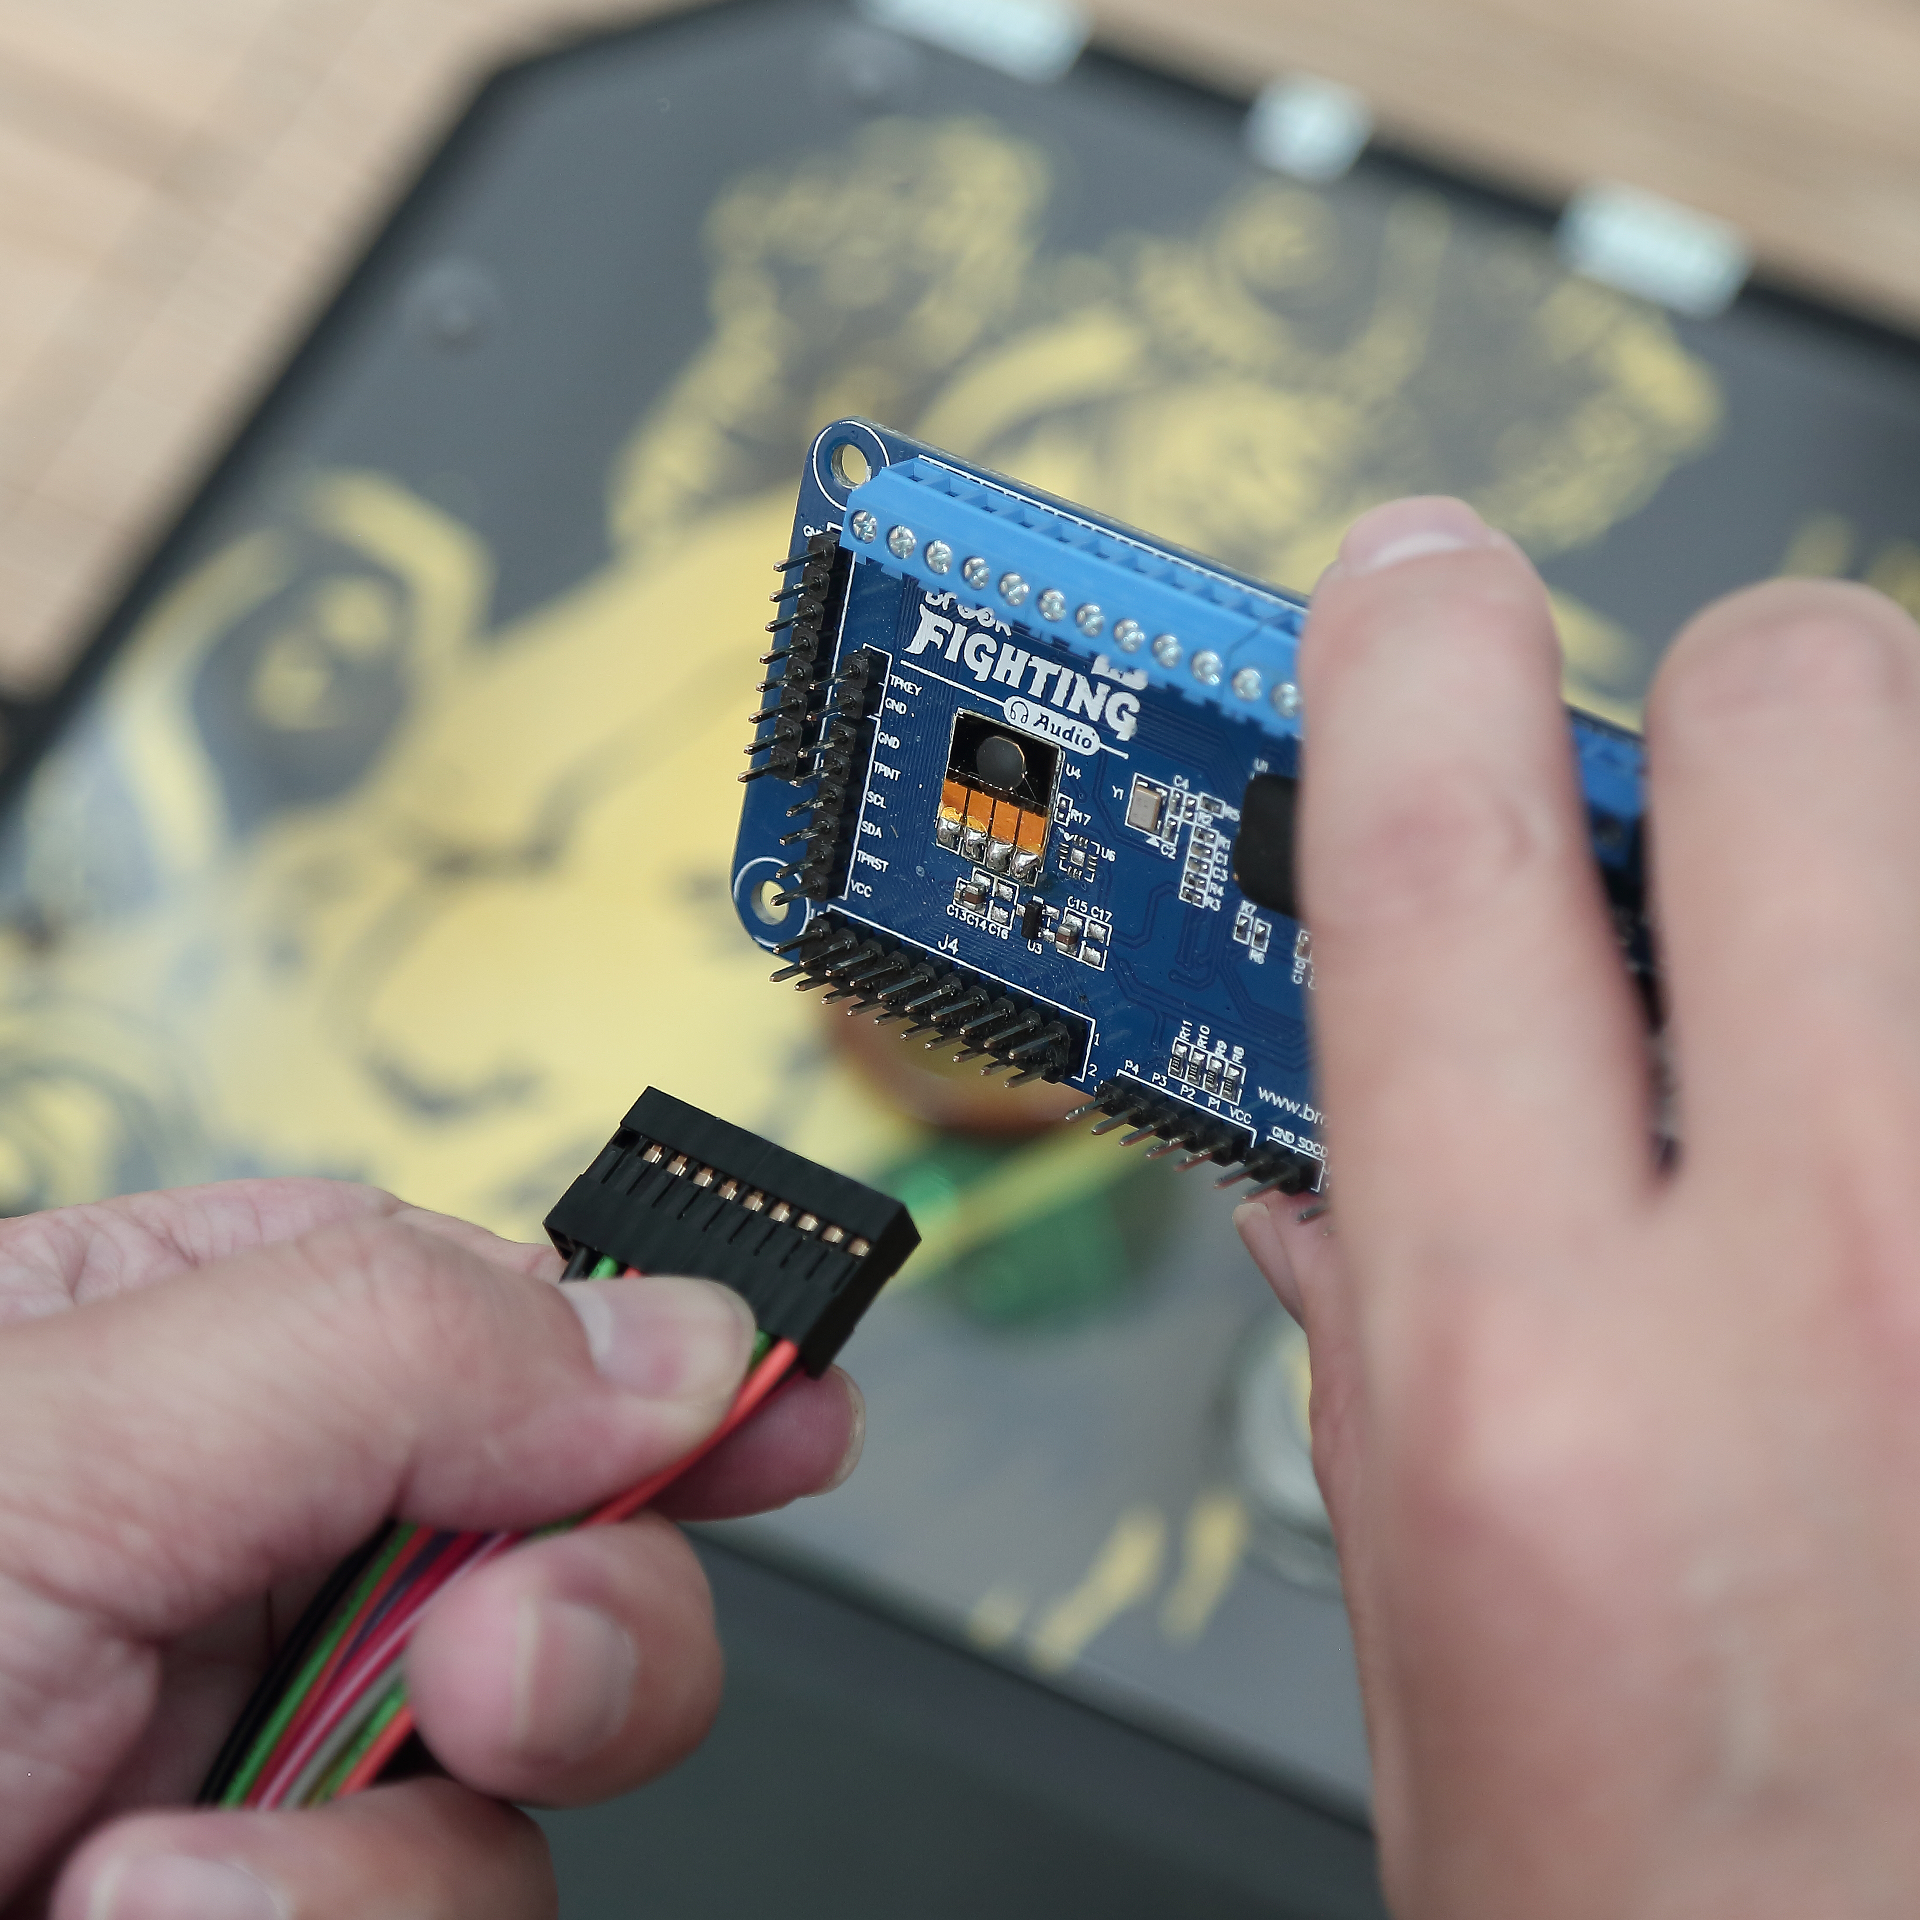
Step 5: Connect to the Brook Fighting Board
- Locate the corresponding connector ports on your Brook Fighting Board.
- Plug the 20-pin and 4-pin harness connectors into their respective ports.
- Ensure they are fully seated and secure.
Part 2: Using the Hitbox Cable
Step 1: Identify Connectors
- Locate the Hitbox Cable.
- Observe the female spade connectors on the cable (for the buttons).

Step 2: Connect the Buttons
- Identify the switch terminals on the back of your arcade buttons.
- Slide the female spade connectors from the Hitbox Cable onto the switch terminals of your buttons.
- Ensure the connectors are securely attached.
- Connect each button to the desired spot on the hitbox cable.
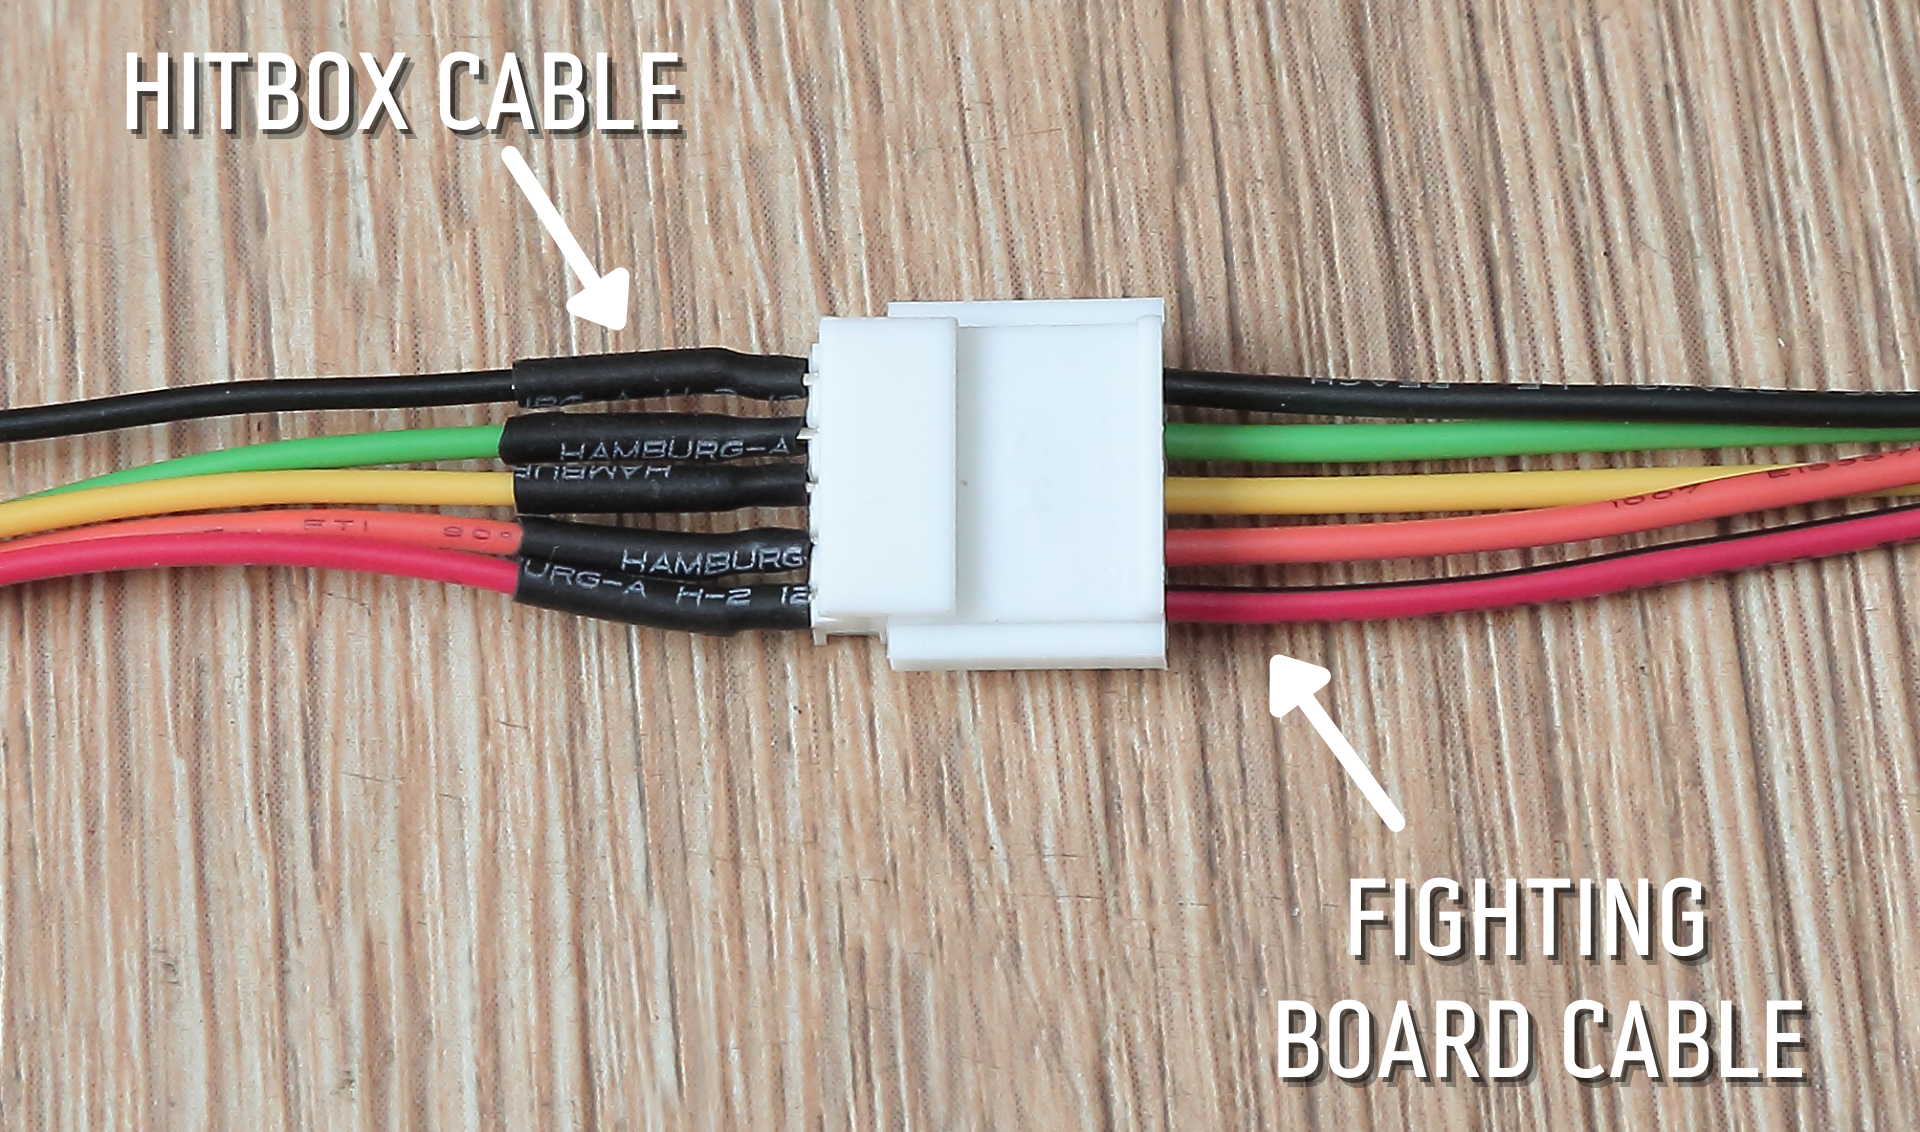
Step 3: Connect to the Brook Fighting Board Cable
- Locate the 5-Pin JST PH connector port on your Brook Fighting Board Cable.
- Plug the Hitbox Cable connector into the connector.
- Ensure it's fully seated and secure.
Part 3: Final Steps (For Both Cables)
Step 1: Verify Connections
- Double-check all connections to ensure they are secure.
Step 2: Test Your Setup
- Connect your Brook Fighting Board to your computer or console.
- Use a game or testing software to verify that all buttons and joystick directions are functioning correctly.
- Refer to the brook fighting board’s user manual for testing information.
Important Reminders:
- Always refer to your Brook Fighting Board's user manual for specific instructions and compatibility details.
- Button functions may vary depending on your Fighting Board version.
- The cables now come in two different colors, but they have the same specs, so they work exactly the same.
- Non-soldered design, just swap the button to make it a joystick gaming board.
By following these steps, you can easily wire your fightstick or hitbox using Brook's Fighting Board Cables.